How to Repair a Broken Sprinkler Head: A Step-by-Step Guide
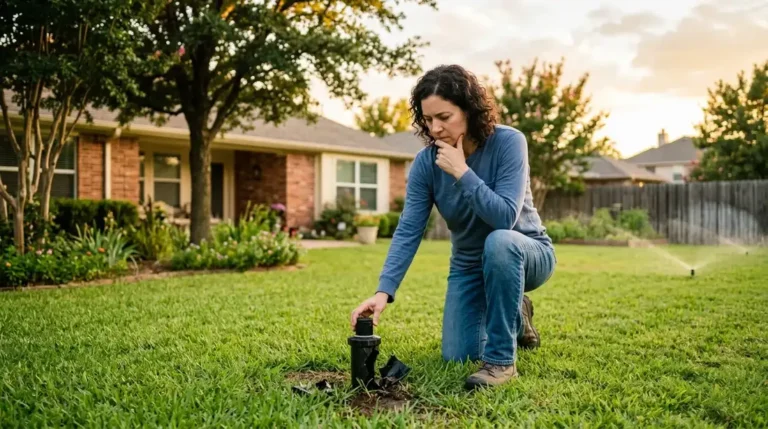
A geyser of water shooting up from your lawn is a sure sign you need to know how to repair a broken sprinkler head. It’s one of the most common irrigation issues we see here in North Texas, and left unchecked, a single busted head can waste hundreds of gallons of water and drown that section of your yard. Fortunately, replacing a standard pop-up or rotor head is a straightforward process if you have the right tools and follow the correct steps.
How to Tell If Your Sprinkler Head is Broken
Sometimes a broken head is obvious—like when a lawnmower clips it off and you have water fountaining into the air. Other times, the signs are more subtle. Before you dig anything up, it helps to confirm that the head actually needs replacing rather than just a quick adjustment.
Here are the most common signs of a broken sprinkler head:
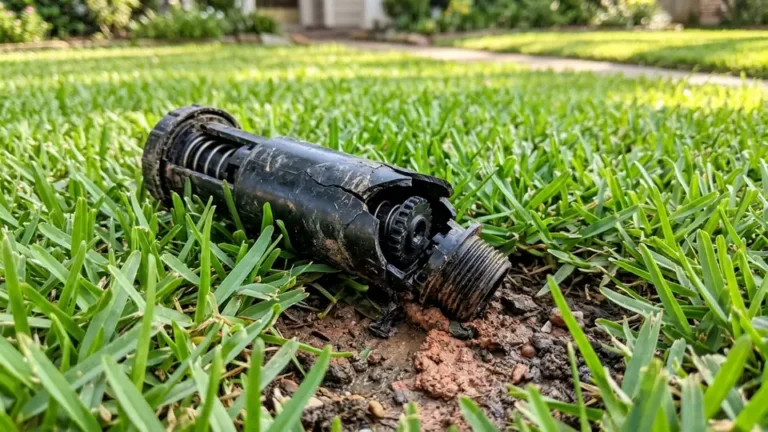
- Water geysers or bubbling: If water is shooting straight up or bubbling heavily around the base of the head instead of spraying in a pattern, the casing is likely cracked or the riser is broken.
- The head won’t pop up: If the zone is running but a head stays buried, the internal spring mechanism has failed or dirt has completely jammed the seal.
- The head won’t retract: If the sprinkler stays popped up after the zone shuts off, it’s a hazard for your lawnmower. This means the retraction spring is worn out.
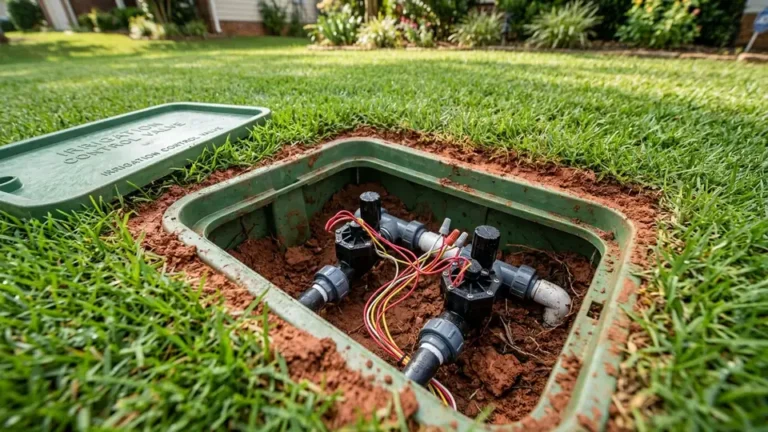
- Leaking when the system is off: If a head continuously oozes water even when the system isn’t running, you might have a broken head, but you also likely need sprinkler valve repair Denton TX because the zone valve isn’t shutting fully.
- Uneven or blocked spray: If the water pattern is distorted and cleaning the nozzle filter doesn’t fix it, the internal gearing (on a rotor) or the nozzle housing may be damaged.
What You Need to Fix It
If you’re going to tackle this yourself, gather your tools before you start digging. You don’t need highly specialized equipment for a basic swap.
You will need:
- A small hand trowel or a narrow trenching shovel
- A replacement sprinkler head (make sure it matches the exact brand and model of the old one, such as a Rain Bird 1804 or a Hunter PGP)
- Plumber’s tape (Teflon tape)
- A pair of slip-joint pliers (Channellocks)
- Optional but helpful: A small bucket to catch dirt so it doesn’t fall into the open pipe
Step-by-Step: Replacing a Broken Sprinkler Head
Follow these steps to safely remove the damaged unit and install the new one without getting dirt in your system lines.
- Turn off the water. Make sure the irrigation system controller is completely off. You do not need to shut off the main water line to the house, just ensure the sprinkler zones will not activate.
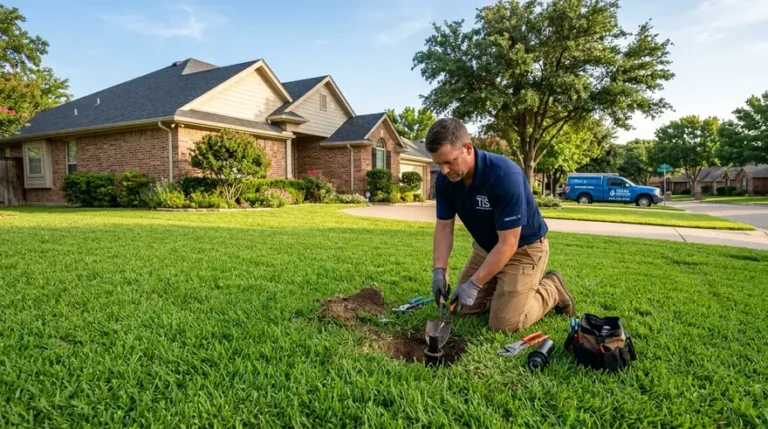
- Dig a neat hole. Using your hand trowel, carefully dig a circle around the broken sprinkler head. Make the hole about 6 to 8 inches across so you have room for your hands. Dig down until you expose the PVC fitting or flexible riser the head is attached to. Put the removed dirt on a tarp or in a bucket to keep the grass clean.
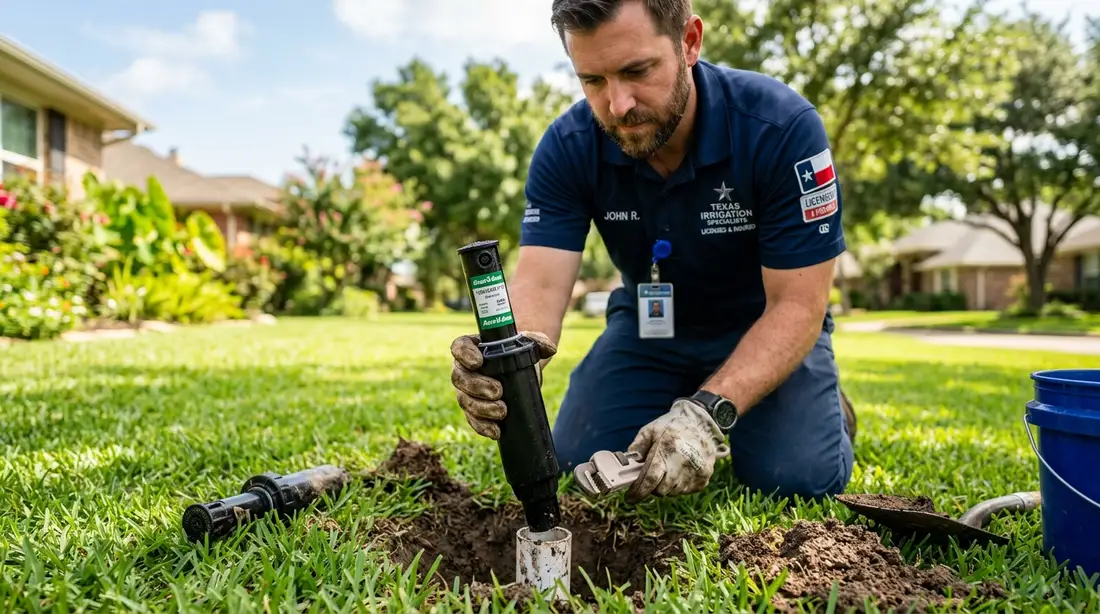
- Unscrew the broken head. Grip the body of the sprinkler head (not just the top) and turn it counter-clockwise. It should unthread from the riser below. If it’s stubborn, carefully use your pliers.
- Prevent dirt from entering the line. As soon as the old head is off, cover the open pipe with a piece of tape or a clean rag. If dirt falls into the line, it will immediately clog the new head when you turn the system on.
- Prepare the new head. Wrap the threaded bottom of the new sprinkler head with two or three turns of plumber’s tape. This ensures a tight, leak-free seal.
- Thread the new head on. Remove the rag from the pipe and carefully thread the new head onto the riser, turning clockwise. Hand-tighten it until it feels snug. Do not overtighten with pliers, as you can easily crack the plastic riser below.
- Flush the line. Before packing the dirt back in, take the nozzle off the top of the new head. Manually turn on that sprinkler zone for just a few seconds. This flushes out any dirt that might have slipped into the pipe during the repair.
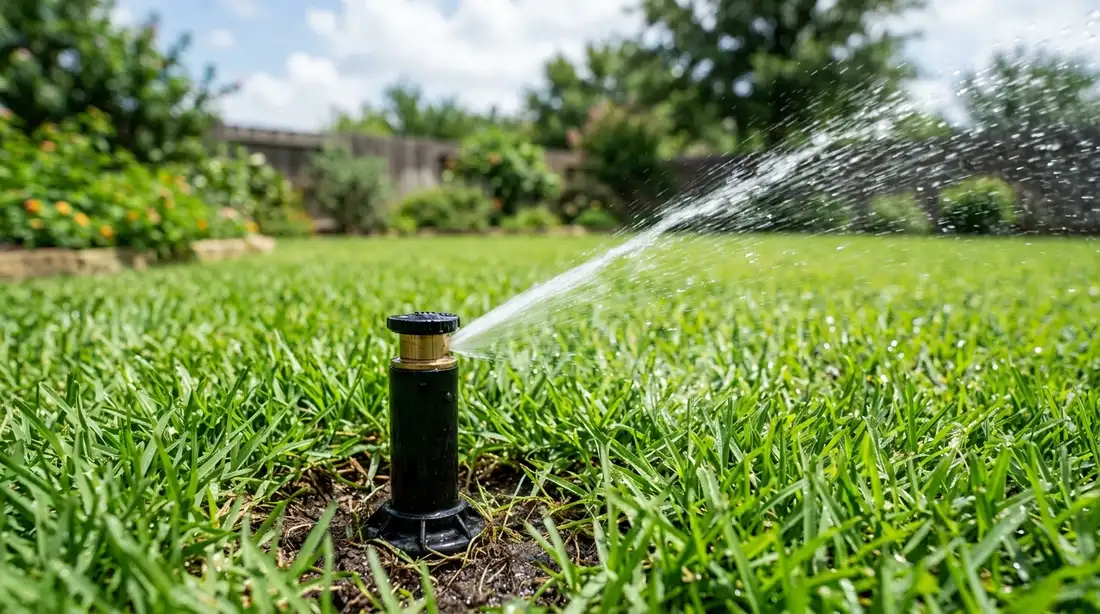
- Replace the nozzle and adjust. Screw the nozzle back on. Turn the zone on again and check for leaks at the base. Finally, adjust the spray direction and distance so it waters the grass, not the sidewalk.
- Backfill the hole. Once you confirm there are no leaks and the spray is correct, carefully pack the dirt back into the hole, pressing down firmly to ensure the head sits flush with the soil level.
Common Mistakes to Avoid
The process seems simple, but there are a few pitfalls that can turn a quick fix into a bigger headache.
First, never mix rotor heads and spray heads on the same zone. They put out water at completely different rates. If you replace a spray head with a rotor, that section of your lawn will stay dry while the rest gets soaked.
Second, pay attention to the height of the new head. Denton’s heavy clay soil shifts frequently, and a head that is installed too high is guaranteed to get destroyed by a lawnmower the following week. The top of the retracted sprinkler head should sit completely flush with the soil surface, not sticking up into the grass blades. If you need to lower it, you may need to dig deeper and shorten the riser pipe beneath it.
When to Call a Professional
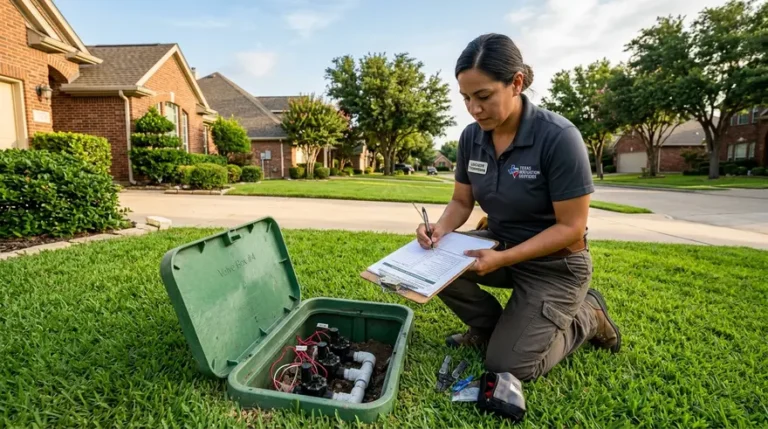
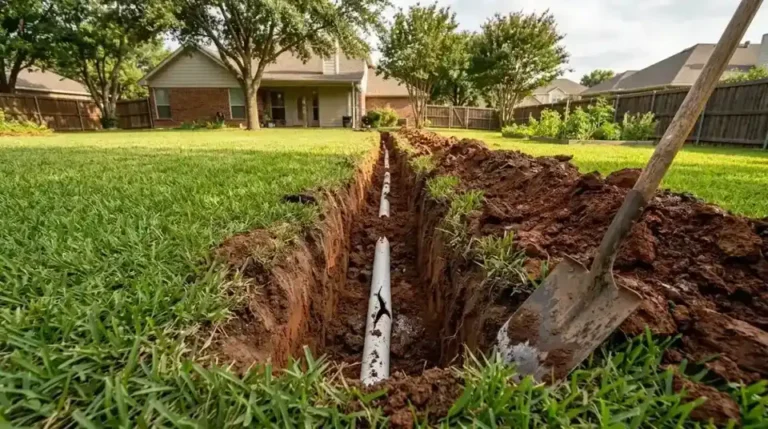
While replacing a single head is manageable for many homeowners, there are times when it’s better to call in the experts. If you dig down and find that the PVC pipe itself is cracked, or if the threaded riser breaks off completely inside the pipe fitting, a simple swap turns into an underground plumbing repair.
Additionally, if you find yourself replacing the same head multiple times, there is likely an issue with the system pressure or the placement of the head itself.
If you’re dealing with multiple broken heads, stubborn leaks, or you just don’t have the time to dig up your yard, our team at ProFlow is here to help. We provide comprehensive sprinkler head repair Denton TX residents trust to be fast, accurate, and fully guaranteed.
Get a quote to have your sprinkler heads professionally repaired
Frequently Asked Questions About Sprinkler Head Repair
How long does a sprinkler head usually last?
Most high-quality residential sprinkler heads from brands like Rain Bird or Hunter will last 5 to 10 years under normal conditions. However, their lifespan can be cut short by lawnmower strikes, hard freezes, or sediment buildup from the local water supply. Sun exposure also gradually makes the plastic brittle over time.
Can I repair a cracked sprinkler head instead of replacing it?
No. Once the plastic body or the internal spring mechanism of a sprinkler head cracks or breaks, it cannot be glued or taped back together effectively. The water pressure in the system will immediately blow out any patch job. The only reliable fix is to replace the entire head unit.
Why does my new sprinkler head spray mist instead of droplets?
If your new head is throwing a fine mist that blows away in the wind instead of dropping heavy water droplets, the water pressure in that zone is too high for the nozzle you installed. You can fix this by slightly closing the flow control valve on the zone, or by installing a pressure-regulating sprinkler head specifically designed to reduce misting.
Do I need to dig up the whole pipe to replace a head?
No, you only need to dig a small hole around the head itself, just wide enough to get your hands in and grip the body of the sprinkler. The lateral pipe running underground stays entirely buried unless the pipe itself is cracked beneath the riser.
Why is water pooling around the base of my new sprinkler head?
If water bubbles up around the base of the head while it runs, the threaded connection between the head and the riser pipe isn’t tight, or you forgot to use plumber’s tape. If water pools there hours after the system turns off, the zone valve is likely leaking and allowing water to slowly drain out of the lowest head on the line.
Who should I call if I can’t fix it myself?
If the repair is more complicated than a simple unscrew-and-replace, or if you simply prefer to leave it to the professionals, we are ready to assist. ProFlow handles all types of sprinkler repair in Denton and the surrounding communities, ensuring your system runs efficiently without wasting water.
Stop Wasting Water on Broken Heads
A broken sprinkler head isn’t just bad for your lawn; it drives up your water bill and wastes a vital resource. Don’t let a geyser flood your yard every time the system runs.
Whether you need a single head replaced, a broken pipe excavated, or a full system tune-up, the TCEQ-licensed team at ProFlow is ready to help. We’ll identify the problem, give you a clear explanation of what’s needed, and get your system back to peak performance.