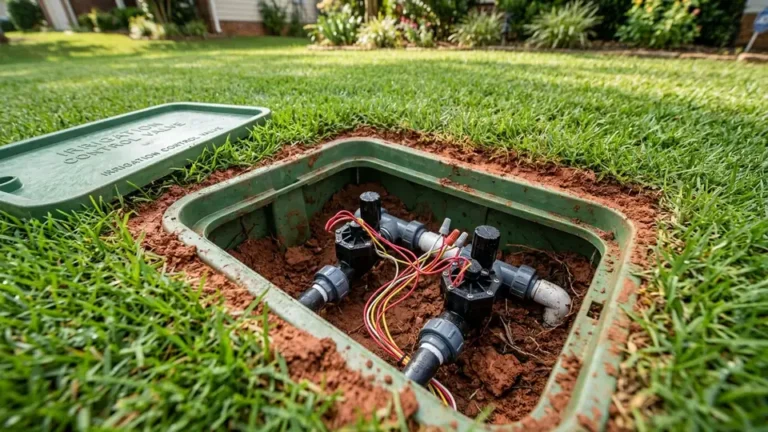
How to Repair a Broken Sprinkler Head in Denton, TX
A zone that waters one section twice as hard as the rest. A small geyser shooting up from the lawn. A dry patch that shows up no matter how long you run the system. In Denton, these are almost always the same culprit: a broken or damaged sprinkler head.
The good news is that sprinkler head repairs are some of the most manageable fixes a homeowner can do on their own. You do not need special tools or irrigation experience. You need to know what to look for, which part to buy, and how to swap it correctly. This guide walks you through all of it.
How to Tell If a Sprinkler Head Is Actually Broken
Not every problem that looks like a broken head is actually the head itself. Before you dig anything up or buy parts, spend five minutes doing a proper diagnosis. It saves you time and money.
Run the affected zone while you walk the area. Here is what to look for:
- Heads that are tilted or sunken. A head sitting below grade or at a crooked angle will not spray correctly. It may look fine between watering cycles but performs poorly when it runs.
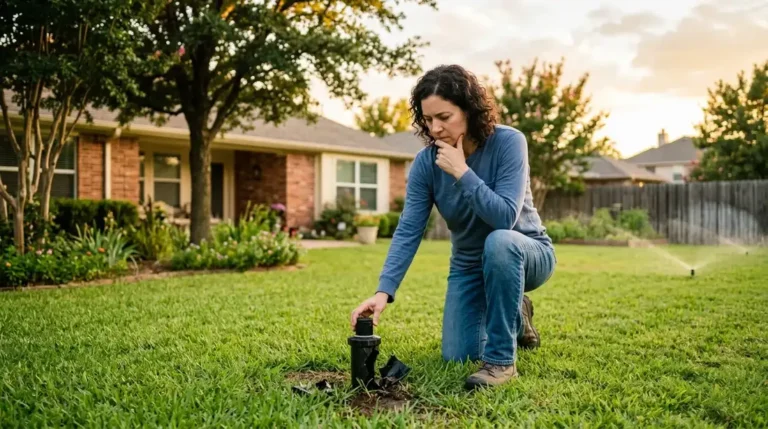
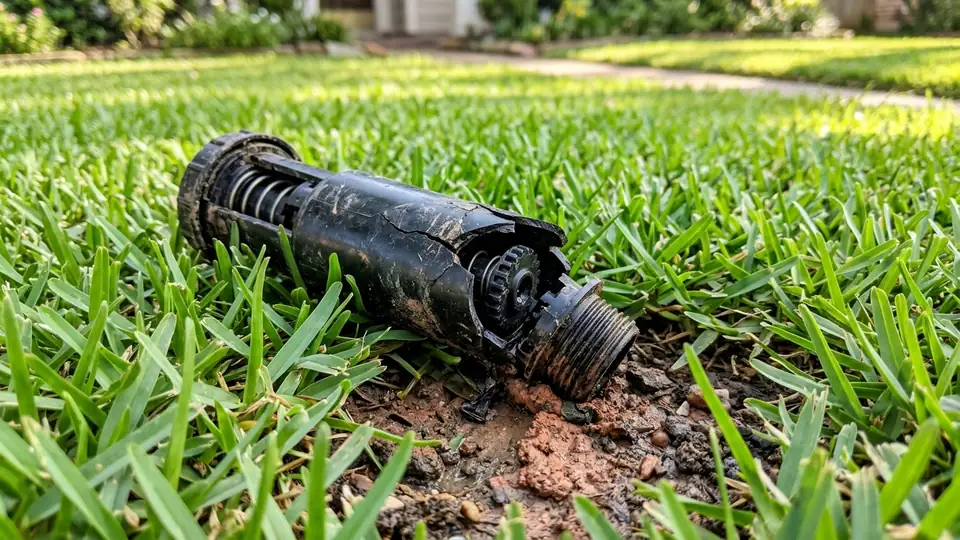
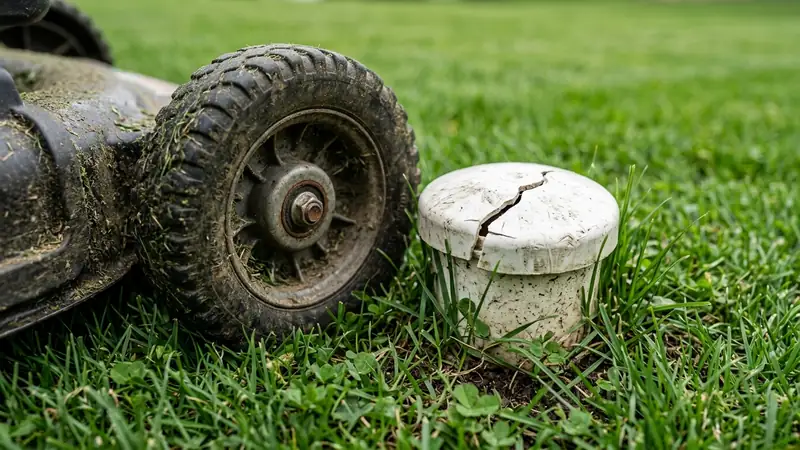
- Cracked or chipped caps. Lawn mower blades hit sprinkler heads all the time. If the plastic housing is cracked, water will spray in every direction instead of the pattern it is supposed to cover.
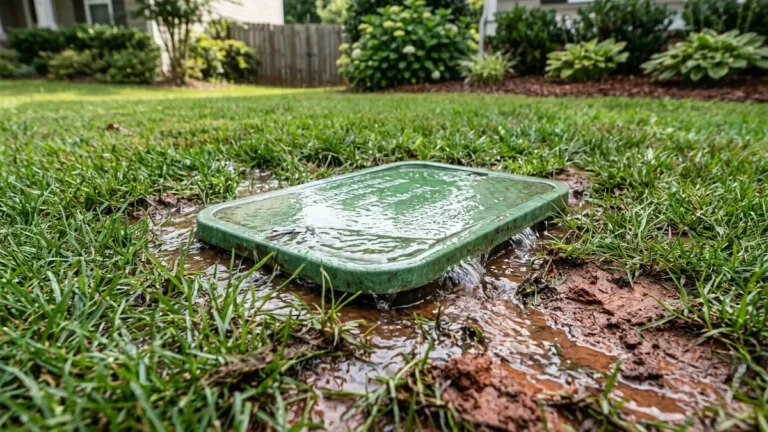
- Geysering. A head blasting water straight up like a fountain usually means the riser or cap has been fully broken off or separated from the body.
- No pop-up at all. If a head in the zone just sits flat and barely dribbles, the internal spring may be broken, or the nozzle is completely clogged with sediment.
- Low pressure at one head while others spray normally. This can point to a clogged nozzle rather than a broken housing. Cleaning often fixes this without any replacement.
- Water pooling around the base of the head. This usually means the body seal has failed, and water is escaping around the head rather than through it.
Once you have identified which head is the problem and what kind of failure you are dealing with, you can decide whether you need a full replacement or just a nozzle cleaning.
Why Sprinkler Heads Break So Often in Denton
Sprinkler heads in Denton take more punishment than heads in most other North Texas cities. There are two main reasons for this.
First, Denton’s shrink-swell clay soil shifts with every wet and dry cycle. That constant ground movement can tilt heads out of position over time, leaving them exposed and vulnerable to foot traffic and mower blades. A head that was perfectly set last spring may be sitting half an inch higher by fall, right in the path of your mower deck.
Second, Denton’s growth along Loop 288, the SW corridor, and neighborhoods like Robson Ranch and Southridge means a lot of newer homes with irrigation systems that were installed fast during construction. Those heads often sit shallow, and the clay beneath them has not yet settled. The result is more frequent tipping and cracking in the first three to five years after installation.
Seasonal freeze events also crack heads that were not properly blown out before winter. Denton gets below-freezing temperatures most years, and water left sitting in the riser overnight will expand and split the plastic housing.
None of this is a sign of a bad system. It is just what living with Denton clay soil looks like over time.
What You Need to Replace a Sprinkler Head
For a standard pop-up head replacement, the parts list is short.
Tools:
- Flat shovel or trowel (to clear soil around the head)
- Needle-nose pliers (to unthread the old head from the riser)
- Small bucket (to collect water when you pull the old head)
Parts:
- Replacement sprinkler head (same brand and series as your existing heads, or a compatible match)
- Teflon pipe tape (wrap the threads for a tight seal)
Matching the replacement head correctly is critical. If you replace a Rain Bird 5000 with a Hunter PGP, the arc settings and precipitation rate will be different from every other head in the zone. The zone will water unevenly. Always match brand, model series, and nozzle size when possible. If you cannot find the exact head, use a head from the same manufacturer’s equivalent series and rebalance the nozzle output.
How to Replace a Broken Sprinkler Head, Step by Step
This process applies to standard pop-up rotary and fixed-spray heads, which cover the vast majority of residential systems in Denton.
Step 1: Turn off the zone at your controller. Do not try to work on an active zone. Shut it off and let the water pressure drop before you start digging.
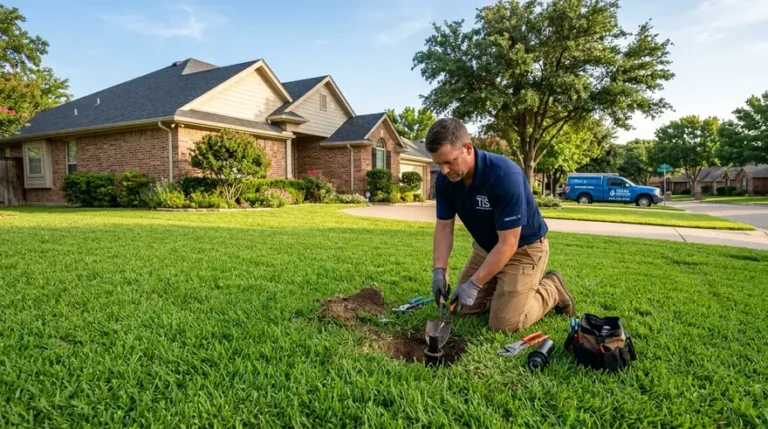
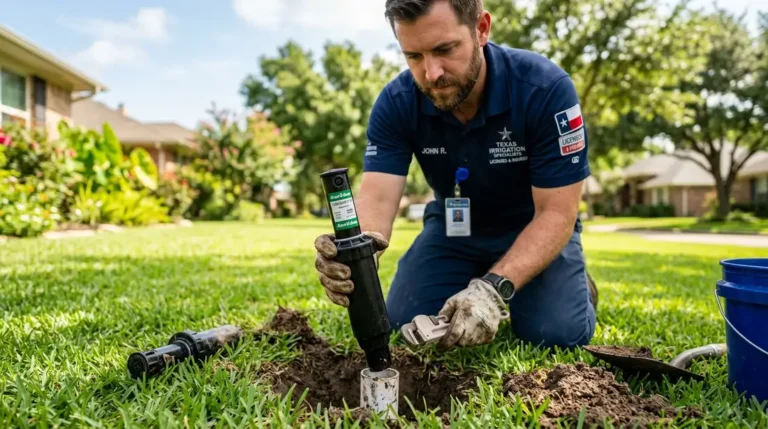
Step 2: Clear soil around the head. Use a trowel or flat shovel to expose the top two to three inches around the head body. In Denton clay, this takes a little more effort than it does in sandy soil. Work carefully. You want to be able to grab the body firmly without yanking on the supply pipe underneath.
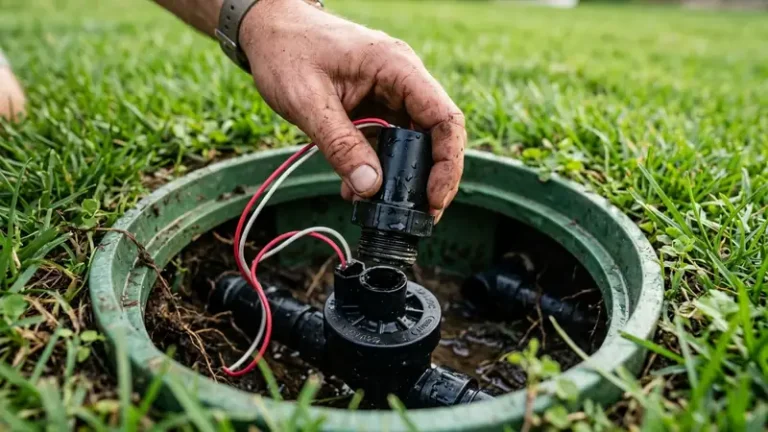
Step 3: Unscrew the old head. Grip the body of the head firmly and twist counterclockwise. If the body spins freely with the pipe, use needle-nose pliers to hold the riser steady while you unscrew. Keep a small bucket nearby. There will be residual water in the line.
Step 4: Check the riser and fitting. With the head off, look at the riser it was connected to. If the riser itself is cracked or the fitting below it is damaged, you will need to replace those as well. This is less common but worth checking before you thread on a new head.
Step 5: Wrap the threads with Teflon tape. Two to three wraps around the riser threads in the direction of the threading. This prevents dripping at the joint and makes the next removal easier if you ever need to service it again.
Step 6: Thread on the new head. Hand-tighten until snug, then a quarter-turn more with your hand. Do not overtighten. PVC threads crack under too much torque.
Step 7: Set the arc and radius. Most heads have a small adjustment screw on top that controls how far the head rotates and the radius of the spray pattern. Set it to match the coverage area of the surrounding heads before you backfill.
Step 8: Test before covering. Turn the zone on with the head sitting at grade but before you pack the soil back in. Confirm it pops up fully, rotates correctly, and covers the intended area without spraying a walkway or fence. If it is off, adjust now.
Step 9: Backfill and firm the soil. Pack the clay back around the head, leaving the cap at grade level. Firm it down by hand. In Denton clay, do not over-compact, or you will tilt the head the other direction.
When Cleaning the Nozzle Fixes the Problem
If the head pops up but sprays weakly or in a distorted pattern, the fix may be simpler than a full replacement. A clogged nozzle is extremely common in Denton because the clay soil contains fine particles that work their way into the nozzle screen over years of use.
To clean it:
- Unscrew the nozzle from the top of the riser while the head is raised (turn on the zone briefly to pop it up, then shut off)
- Rinse the nozzle under clean water
- Use a small pin or toothpick to clear the filter screen inside
- Reinstall and test
If the head still performs poorly after cleaning, replacement is the right call.
Need Help? ProFlow Can Handle It
If the head is buried deep, if there are multiple broken heads across several zones, or if you find that the riser or fitting below the head is also damaged, the job grows quickly. Our team provides sprinkler head repair in Denton for exactly these situations, including head matching, arc adjustment, and pressure balancing across the full zone.
We’re a local team, not a franchise. When you call sprinkler repair in Denton TX, you get honest diagnostics and upfront pricing before any work starts.
Frequently Asked Questions
Still Not Sure What You Are Looking At?
Sometimes what looks like a broken head is actually a valve problem or a pressure issue in the supply line. And sometimes you pull the head and find a cracked riser that needs more than a simple swap. If you would rather have a TCEQ Licensed Irrigator take a look, our team is ready to help. We give you an honest answer before we touch anything, and we price the work upfront with no hidden diagnostic fees.
Call ProFlow Sprinkler Repair for sprinkler repair in Denton TX today. Same-day service available.