Sprinkler Valve Leak Repair: Causes and Fixes for Denton, TX Homeowners
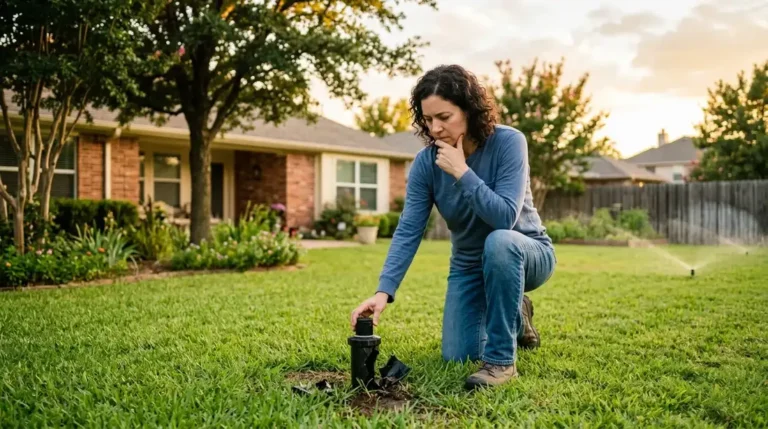
Water bubbling up from the valve box. A soft, muddy patch in the yard that never dries out. A water bill that climbed for no obvious reason. If any of these sound familiar, you are probably dealing with a leaking sprinkler valve.
Valve leaks are one of the most common irrigation problems in Denton, and they are also one of the most misdiagnosed. Homeowners often assume the leak is coming from a broken pipe or a cracked head, when the real culprit is sitting inside the valve box. This guide walks you through the most common causes of sprinkler valve leaks, how to identify what is failing, and how to fix it.
What Does a Sprinkler Valve Leak Look Like?
Valve leaks do not always announce themselves with a dramatic geyser. Most of the time, the signs are subtle enough that homeowners miss them for weeks or even months.
Here is what to watch for:
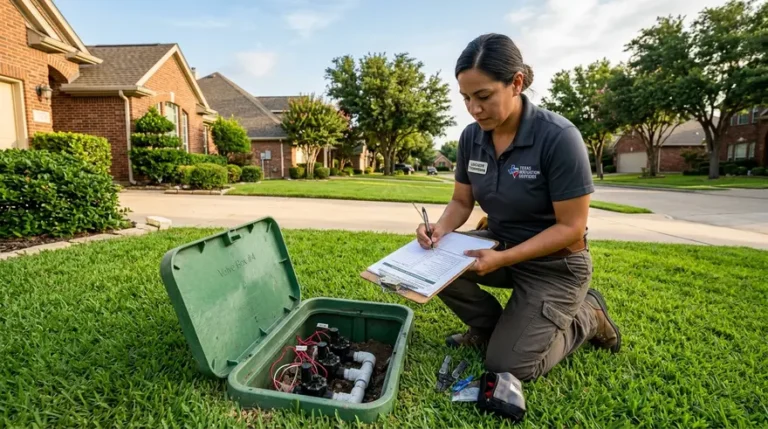
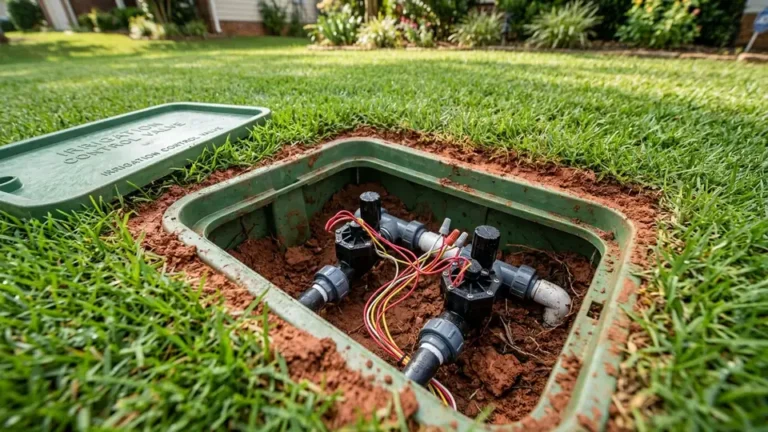
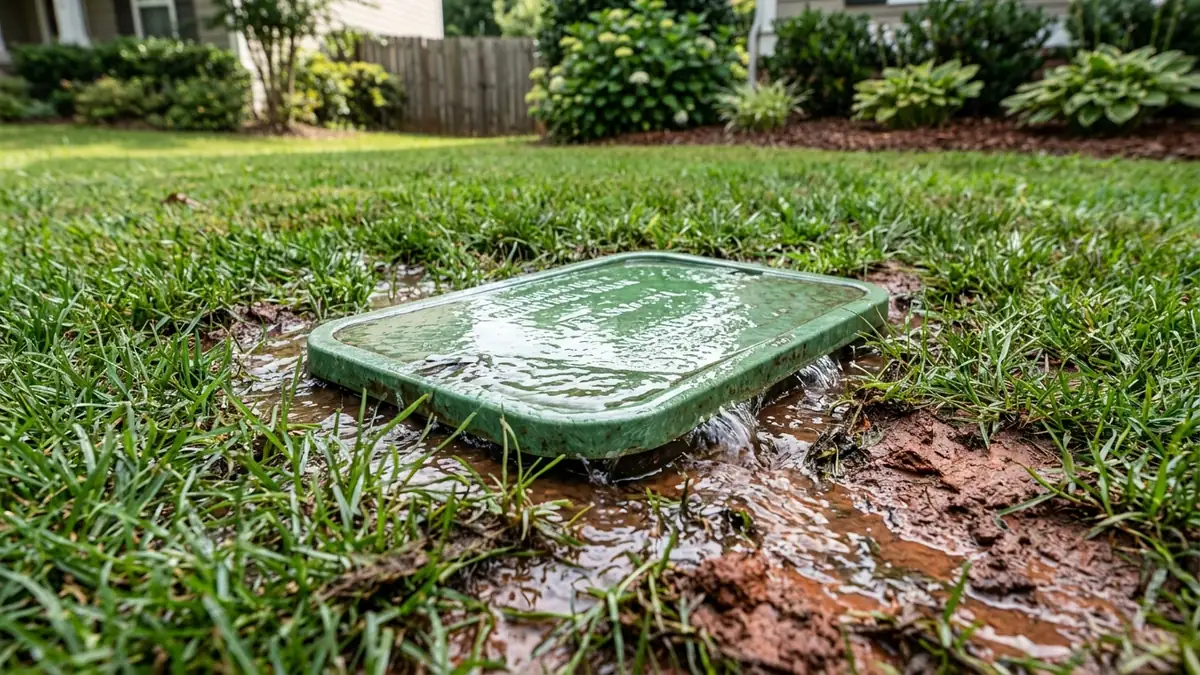
- Water pooling around the valve box. If the ground near your valve box stays soft or muddy even during dry weather, water is escaping from inside the box. Lift the lid and check for standing water.
- A zone that drips or trickles after it shuts off. When the controller turns a zone off, the sprinkler heads should stop within a few seconds. If one or more heads continue to dribble for minutes afterward, the valve is not closing completely.
- Higher water bills with no change in usage. A slow valve leak can waste hundreds of gallons per day without producing any visible surface water. If your Denton water bill from the City of Denton Utilities jumped and you cannot explain it, check the valves.
- One zone runs noticeably weaker than the others. A leak at the valve reduces the pressure available to the heads downstream. The zone still runs, but coverage is reduced.
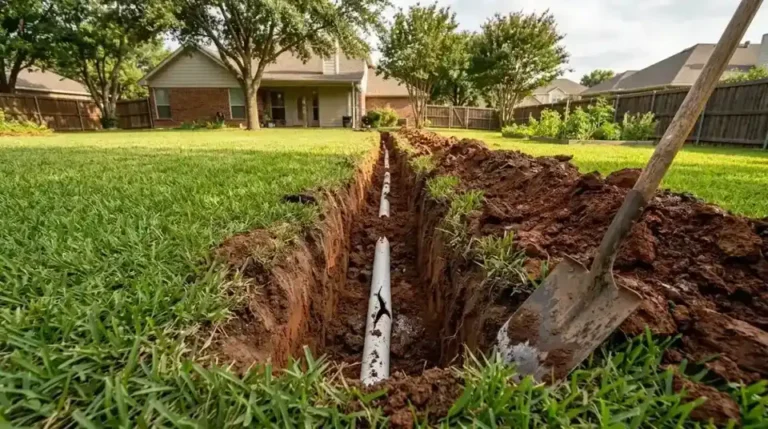
- Wet spots in the yard away from any sprinkler head. If the leak is at a fitting below the valve or at the manifold, water can travel along the pipe trench and surface several feet away from the actual source.
Why Sprinkler Valves Leak in Denton
Denton’s combination of clay soil, hard water, and temperature extremes creates the perfect conditions for valve failures. Here are the most common causes we see in local systems.
Worn or Torn Diaphragm
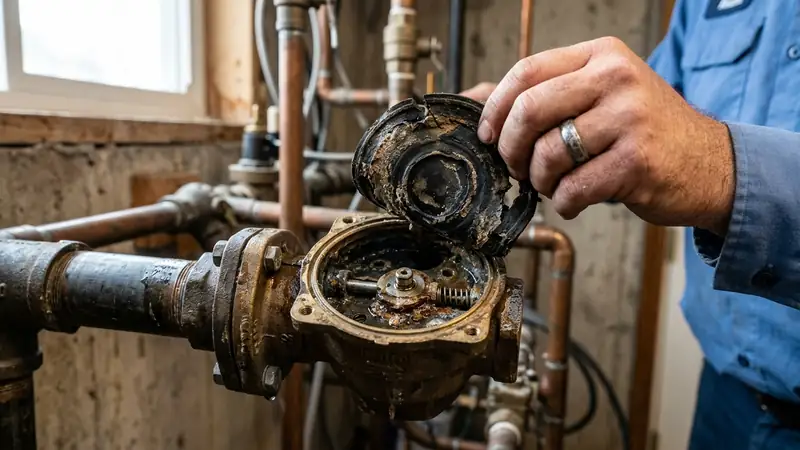
The diaphragm is the rubber disc inside the valve that seals against the valve seat when the zone shuts off. Over time, the rubber deteriorates from constant water exposure and mineral deposits. In Denton, the high mineral content in the municipal water supply accelerates this wear. A diaphragm that has developed a small tear or has lost its flexibility will allow water to seep through even when the valve is in the closed position.
This is the single most common cause of valve leaks in Denton residential systems.
Debris on the Valve Seat
The valve seat is the flat surface inside the valve body that the diaphragm presses against to create a seal. If a grain of sand, a small pebble, or a piece of pipe shaving gets lodged on the seat, the diaphragm cannot close fully. Water bleeds through the gap.
This happens most often after a nearby pipe repair, after the City of Denton flushes fire hydrants, or after a new irrigation install disturbs sediment in the main line.
Cracked Valve Body
The valve body itself is made of PVC or composite plastic. In Denton, clay soil movement puts lateral pressure on the valve box and everything inside it. Over years, this slow, constant squeeze can crack the housing. Freeze events compound the problem. Water trapped in the valve body overnight during a hard freeze expands and fractures the plastic.
A cracked body leaks continuously, regardless of whether the zone is running or not.
Failed Bonnet Seal or O-Ring
The bonnet is the top half of the valve that bolts to the base. Between the bonnet and the base sits an O-ring or gasket that prevents water from escaping at the joint. These seals dry out and crack over time, especially in systems that sit idle during the winter months. When the seal fails, water weeps from the seam between the bonnet and the body.
Loose or Corroded Fittings
The threaded connections where the valve attaches to the PVC manifold can loosen over time due to soil movement or vibration from water hammer. Corroded threads from Denton’s mineral-heavy water also degrade the seal. The leak shows up as water dripping from the pipe connections rather than from the valve body itself.
How to Fix a Leaking Sprinkler Valve
The repair depends entirely on what is causing the leak. Start with a diagnosis, then work through the appropriate fix.
Fix 1: Replace the Diaphragm
This is the fix for the majority of valve leaks.
- Shut off the main irrigation water supply and let the pressure drop.
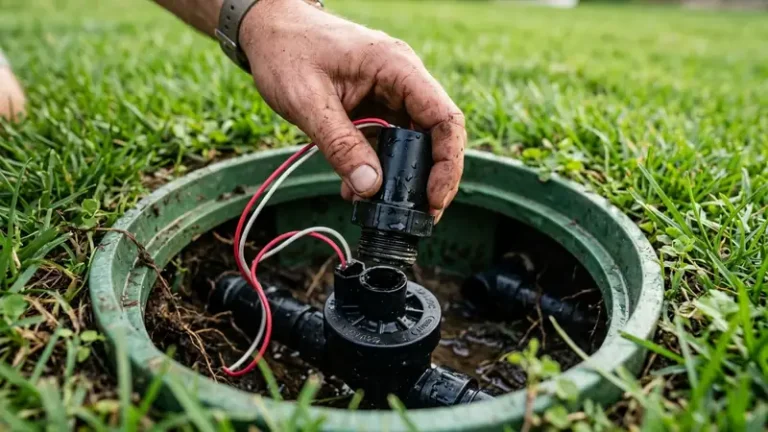
- Remove the screws holding the valve bonnet to the base (typically 4 to 6 screws).
- Lift the bonnet off carefully. The diaphragm sits directly on the valve seat.
- Remove the old diaphragm and the spring beneath it.
- Inspect the valve seat for debris, grit, or mineral buildup. Wipe it clean with a damp rag. Even a single grain of sand will prevent a proper seal.
- Set the new diaphragm from your rebuild kit onto the seat. Make sure it is centered and lying flat.
- Replace the spring, reattach the bonnet, and tighten the screws in a cross pattern.
- Turn the water back on and run the zone. Watch for leaks at the bonnet seam and confirm the zone shuts off cleanly.
A diaphragm rebuild kit for most Rain Bird and Hunter valves costs under ten dollars and the entire repair takes about fifteen minutes.
Fix 2: Clean the Valve Seat
If the diaphragm looks fine but the valve still leaks, the problem is likely debris on the seat.
- With the bonnet removed and the diaphragm out, run your finger across the valve seat. You are feeling for grit, small pebbles, or mineral scale.
- Use a clean rag or a soft-bristle brush to wipe the seat clean.
- For heavy mineral buildup (common in Denton), soak a rag in white vinegar and lay it across the seat for five minutes. Then scrub gently and wipe dry.
- Reassemble and test.
Fix 3: Replace the Bonnet O-Ring or Gasket
If water is leaking from the seam between the bonnet and the body rather than through the valve itself:
- Remove the bonnet screws and lift the bonnet off.
- Locate the O-ring or gasket seated in the groove on the bonnet or body flange.
- Pull it out and inspect it. If it is cracked, flattened, or brittle, replace it.
- Apply a thin coat of silicone-based plumber’s grease to the new O-ring before reinstalling it. This helps it seat properly and extends its life.
- Reassemble and test.
Fix 4: Replace the Entire Valve
If the valve body is cracked, the threads are stripped, or you have rebuilt the internals and the leak persists, a full valve replacement is the right call. This involves cutting into the PVC manifold and solvent-welding a new valve in place. If you are comfortable with PVC cutting and gluing, you can handle it yourself. If not, this is a good time to call a professional for sprinkler valve repair Denton.
For a detailed walkthrough of the full replacement process, see our guide on how to repair a sprinkler valve.
How to Prevent Valve Leaks in Denton
Valve leaks are not entirely avoidable in Denton’s conditions, but you can significantly reduce the frequency with a few simple maintenance habits.
- Blow out your system before winter. Denton gets below-freezing temperatures most years. Water left in the valve body will expand and crack the housing. A professional winterization blowout removes that risk entirely.
- Add pea gravel to the bottom of your valve boxes. This keeps Denton’s red clay from packing around the valve and putting pressure on the housing. Two inches of gravel provides enough drainage and buffer.
- Run each zone manually once in early spring. After a winter of sitting idle, seals can stick or dry out. Running each zone for a few minutes rehydrates the diaphragm and reveals any leaks before your full watering schedule starts.
- Replace diaphragms proactively every 7 to 10 years. If your system is approaching that age, consider swapping all diaphragms during a single maintenance session rather than waiting for them to fail one at a time during peak summer.
Need Help Tracking Down a Valve Leak?
Some valve leaks are straightforward. You open the box, see a cracked body, and know exactly what to do. Others are harder to pin down. The box is dry, the fittings look fine, but the zone still drips after it shuts off. In those cases, the problem may be upstream at the manifold, or it could be a pressure regulation issue that is forcing the diaphragm open.
Our team handles sprinkler valve repair Denton every week, and valve leak diagnosis is one of the most common calls we get. We carry rebuild kits for Rain Bird, Hunter, and Orbit valves on the truck so most repairs are completed in a single visit.
We are a local Denton operation. When you call sprinkler repair in Denton TX, you get a TCEQ Licensed Irrigator who gives you an honest answer before touching anything.