How to Repair a Sprinkler Valve in Denton, TX
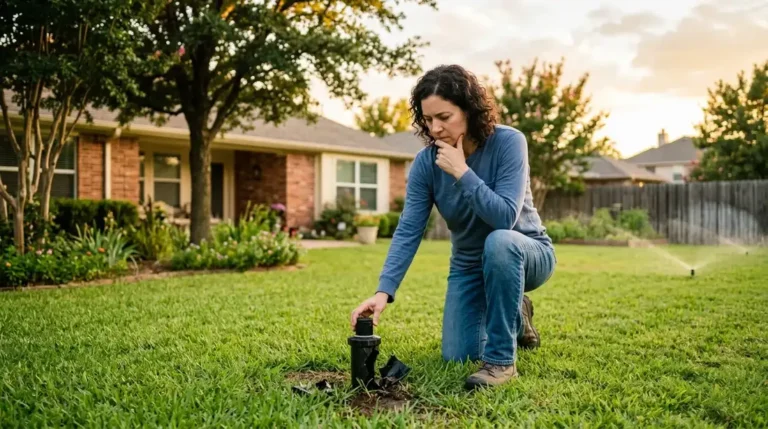
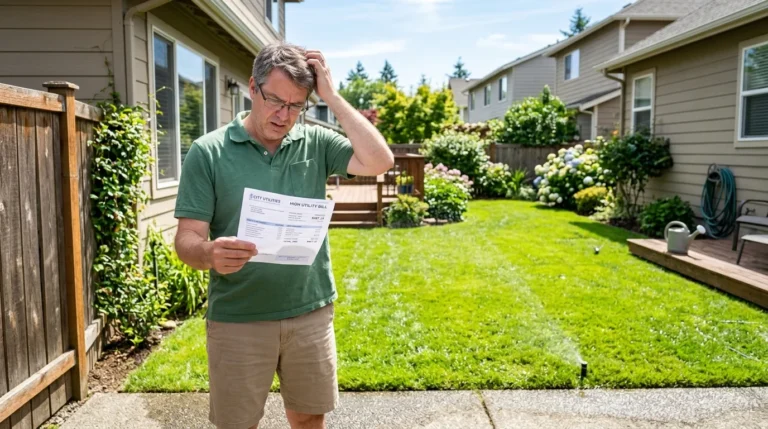
A zone that will not turn on no matter what you do at the controller. A zone that runs nonstop even after the timer shuts off. Water seeping up from the valve box between cycles. These are all classic signs of a failing sprinkler valve, and in Denton they happen more often than most homeowners expect.
Sprinkler valves are the control center of your irrigation system. Each valve opens and closes to let water flow through a specific zone. When one fails, it either floods that zone or starves it completely. The repair is usually straightforward once you know what to look for and what parts to grab. This guide covers the full process from diagnosis to fix.
How Sprinkler Valves Work (and Why That Matters for Repair)
Understanding the basic mechanics makes diagnosing the problem much easier.
A standard residential irrigation control valve is an electric solenoid unit. When your controller sends a 24-volt signal through the wire, the solenoid lifts a small plunger inside the valve body. That opens a diaphragm, which allows pressurized water to flow through the valve and out to the sprinkler heads in that zone. When the signal stops, the solenoid drops the plunger, the diaphragm closes, and water stops flowing.
There are only a few parts inside a valve that can fail: the solenoid itself, the diaphragm, the spring beneath the diaphragm, and the internal seals. Most Denton residential systems use Rain Bird or Hunter valves in the 1-inch size. The parts are inexpensive and widely available at Home Depot, Lowe’s, or any irrigation supply store along Fort Worth Drive.
How to Diagnose a Bad Sprinkler Valve
Before you start taking anything apart, figure out which valve is the problem and what type of failure you are dealing with. The symptoms tell you exactly where to look.
Zone will not turn on at all:
- First, check the controller. Make sure the zone is programmed and the wires are connected to the correct terminal. Run the zone manually from the controller.
- If the controller sends the signal but nothing happens, the problem is either a broken wire between the controller and the valve, or the solenoid has failed.
- At the valve box, turn the solenoid a quarter-turn counterclockwise by hand. If the zone starts running, your solenoid is bad. If it still does not run, you may have a wiring issue or a stuck diaphragm.
Zone will not turn off:
- This almost always means the diaphragm inside the valve is torn, worn, or has debris stuck under it. Water passes through even when the solenoid is closed because the diaphragm cannot make a proper seal.
- Less commonly, the solenoid is stuck in the open position. Try turning it clockwise (fully closed position). If the zone stops, the solenoid was loose or damaged.
Water leaking from the valve box between cycles:
- A cracked valve body, a failed bonnet seal, or a deteriorated diaphragm can all cause water to weep through the valve even when the system is off.
- In Denton, clay soil pressure on the valve box itself can crack older PVC valve bodies over time.
Zone has low pressure or uneven coverage:
- A partially clogged valve (debris caught in the diaphragm seat) restricts flow. The zone runs but weakly.
- This is common after a main line repair or after the city flushes hydrants, which pushes sediment through the system.
What You Need to Repair a Sprinkler Valve
Most valve repairs require only a few inexpensive parts.
Tools:
- Flat-head screwdriver
- Needle-nose pliers
- Clean rag or towel
- Small wire brush (for cleaning the valve seat)
Parts (depending on the repair):
- Replacement solenoid (must match your valve brand and model)
- Diaphragm rebuild kit (includes diaphragm, spring, and seals, typically under ten dollars)
- Replacement valve body (if the housing is cracked, which is less common)
- Waterproof wire connectors (if you need to splice solenoid wires)
Before you buy anything, open the valve box and look at the top of the valve. The brand name and model number are molded into the bonnet. Write it down and bring it with you to the store.
How to Repair a Sprinkler Valve, Step by Step
Replacing a Bad Solenoid
This is the fastest fix. If the valve turns on manually but will not respond to the controller, the solenoid is the likely culprit.
Step 1: Turn off the irrigation system at the controller.
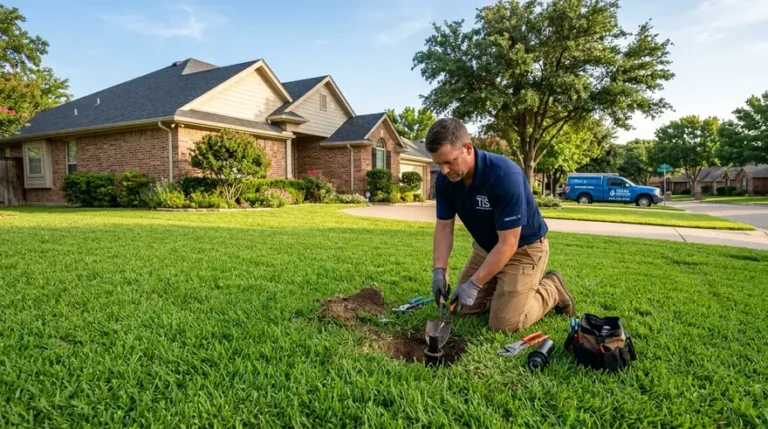
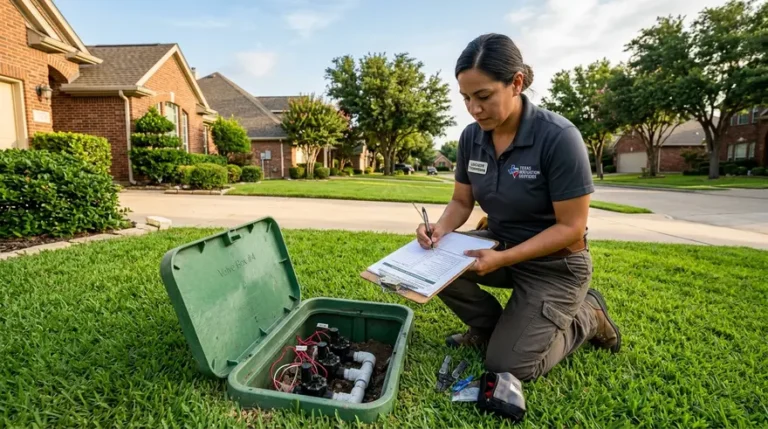
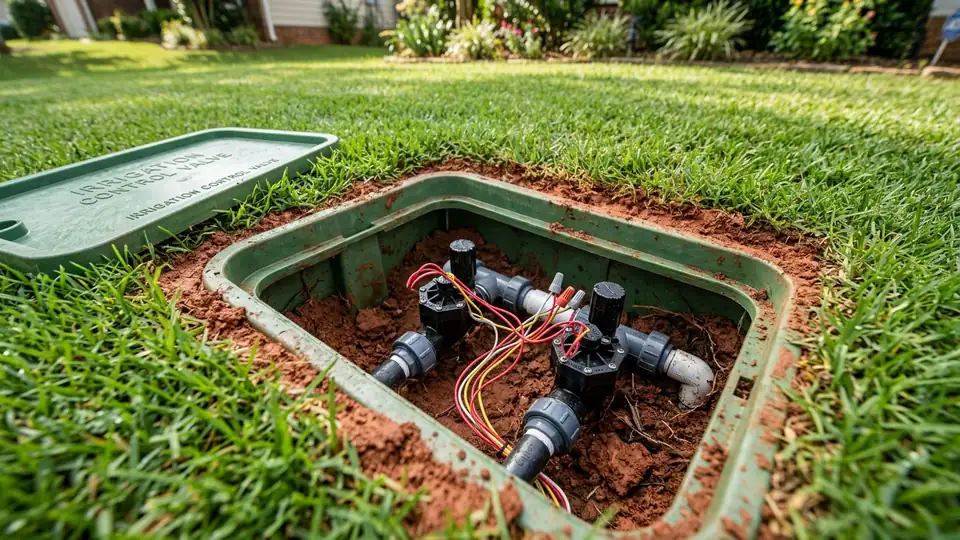
Step 2: Locate the valve box in the yard. In most Denton homes, valve boxes are rectangular green or black lids set into the ground near the garage, driveway, or along the side of the house.
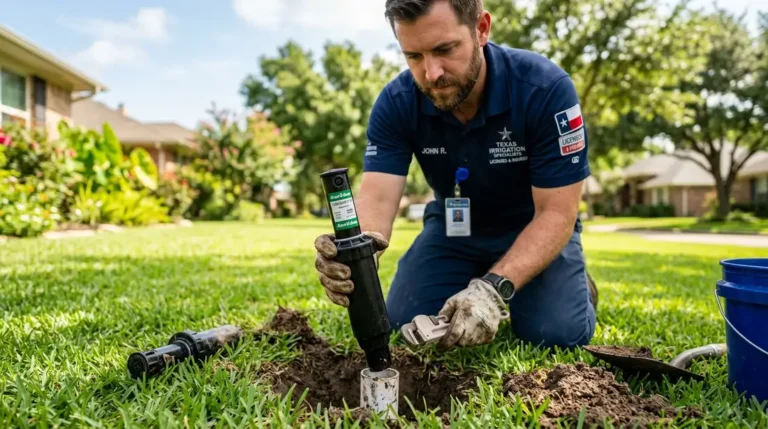
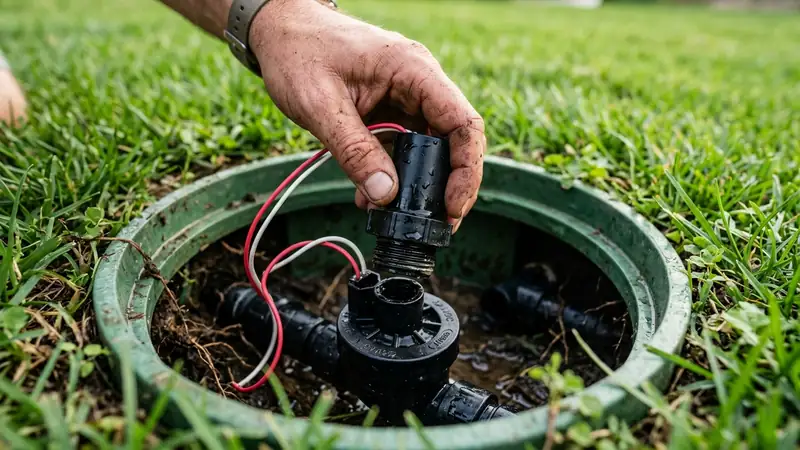
Step 3: Unscrew the old solenoid by turning it counterclockwise. It threads directly into the valve body. Water will trickle out when you remove it. That is normal.
Step 4: Disconnect the two wires from the old solenoid. They are usually connected with waterproof wire nuts. Note which wire is the common and which is the zone wire.
Step 5: Thread the new solenoid into the valve body and hand-tighten. Do not overtighten.
Step 6: Reconnect the wires using new waterproof wire connectors. Solenoid wires are not polarity-specific, so it does not matter which wire goes to which terminal.
Step 7: Run the zone from the controller and confirm the valve opens and closes properly.
Replacing the Diaphragm
If the valve leaks, will not shut off, or runs at reduced pressure, the diaphragm is likely the issue. This takes about fifteen minutes.
Step 1: Shut off the main irrigation water supply. You need to depressurize the line to open the valve body safely.
Step 2: Remove the screws or bolts holding the bonnet (top half) of the valve body to the base. Most residential valves have 4 to 6 screws.
Step 3: Carefully lift the bonnet off. The diaphragm sits directly on top of the valve seat. It is a round rubber disc with a small center hole.
Step 4: Remove the old diaphragm and the spring beneath it. Inspect the valve seat (the flat surface the diaphragm sits against). If there is grit, sand, or debris on the seat, clean it thoroughly with a rag or small brush. Even a single grain of sand will prevent a proper seal.
Step 5: Place the new diaphragm (from your rebuild kit) onto the seat. Make sure it is centered and sitting flat.
Step 6: Replace the spring on top of the diaphragm.
Step 7: Reattach the bonnet and tighten the screws evenly in a cross pattern. Do not overtighten. You want a firm, even seat, not a cracked housing.
Step 8: Turn the water supply back on and run the zone. Watch for leaks around the bonnet and confirm the zone shuts off cleanly when the timer stops.
When to Replace the Entire Valve
Sometimes the valve body itself is the problem. In Denton, we see cracked valve bodies fairly often on systems older than 12 to 15 years. The combination of clay soil pressure, temperature swings, and mineral buildup from Denton’s hard water takes a toll on PVC housings over time.
Replace the entire valve if:
- The body has a visible crack
- The threads where the solenoid seats are stripped
- The valve seat is pitted or corroded beyond cleaning
- You have replaced the diaphragm and solenoid and the valve still leaks
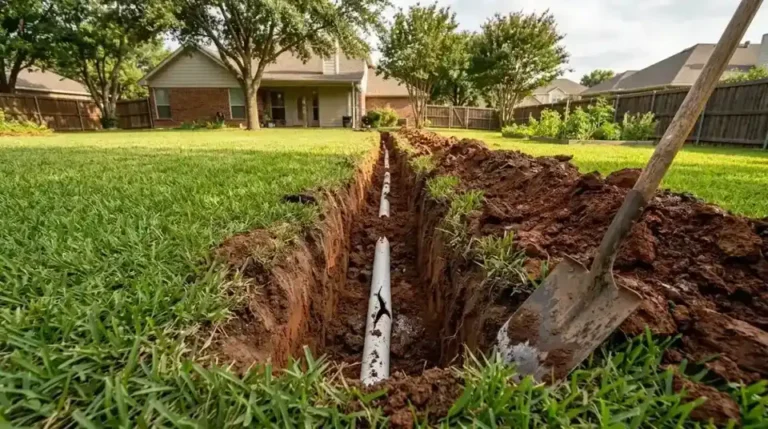
A full valve replacement involves cutting into the PVC supply line and solvent-welding a new valve in place. This is a more involved repair that requires the water supply to be off and a proper cure time for the PVC cement. If you are not comfortable with pipe cutting and gluing, this is a good time to call a professional for sprinkler valve repair Denton.
Denton-Specific Valve Problems
Denton’s local conditions create a few valve issues that homeowners in other cities rarely deal with.
Hard water mineral buildup. Denton’s municipal water supply has a high mineral content. Over years, calcium and lime deposits build up on the valve seat and diaphragm, preventing a clean seal. If your irrigation valve slowly weeps or takes longer to shut off than it used to, mineral buildup is usually the cause. A vinegar soak of the diaphragm and a gentle scrub of the seat with a wire brush often restores the seal.
Clay soil intrusion into valve boxes. Heavy rain pushes Denton’s red clay into valve boxes that do not have proper drainage gravel beneath them. That clay can pack around the valve body, making it difficult to access and sometimes putting enough lateral pressure on the housing to crack it. If your valve box is consistently full of mud, add two inches of pea gravel at the bottom after your next repair to improve drainage.
Wire corrosion. Denton’s soil moisture and mineral content corrode the wire connections between the controller and the valves faster than average. If a solenoid test shows the solenoid is good but the zone still will not activate, check the wire connections inside the valve box. Green or white corrosion on the copper means you need to cut back to clean wire and use fresh waterproof connectors.
Need a Hand? ProFlow Is Here
If you have pulled the valve apart, replaced the diaphragm, swapped the solenoid, and the zone still is not working right, the problem may be deeper in the system. A wiring fault between the controller and the valve box, a cracked manifold, or a pressure regulation issue all require professional diagnostics. Our team handles sprinkler valve repair Denton every week, and we carry the most common Rain Bird and Hunter rebuild kits on the truck so we can fix most valves in a single visit.
We are a local Denton team. When you call sprinkler repair in Denton, you get honest diagnostics and upfront pricing before any work begins.
Frequently Asked Questions
Still Dealing with a Stubborn Valve?
Some valve problems look simple on the surface but point to something deeper. A zone that runs weak after a rebuild might have a partially blocked manifold. A valve that keeps failing could be getting hit by pressure spikes from the city main. If you have tried the steps above and the problem keeps coming back, our team can run a full pressure and flow test on the affected zone to find the root cause.
We give you an honest answer before we touch anything, and we price the work upfront with no hidden diagnostic fees.
Call ProFlow Sprinkler Repair for sprinkler repair in Denton today. Same-day service available.