How to Repair a Broken Sprinkler Line in Denton, TX
A soggy patch in your yard that won’t dry out. A zone that suddenly has no pressure. A water bill that jumped without explanation. In Denton, these are almost always the same problem: a broken underground sprinkler line.
The good news is that repairing a broken sprinkler line is one of the more manageable DIY irrigation jobs. The tricky part, especially here in Denton, is finding the break before you start digging. Denton’s clay soil shifts constantly with seasonal moisture changes, and that movement is the number one reason lines crack and joints fail in the first place.
This guide walks you through how to repair a broken sprinkler line from start to finish — how to locate the problem, what materials you’ll need, the actual repair steps, and how to know when the damage is beyond a DIY fix.
—
Why Sprinkler Lines Break in Denton
Understanding why lines break helps you fix them right the first time.
Most people think a broken sprinkler is random bad luck. In Denton, it usually isn’t.
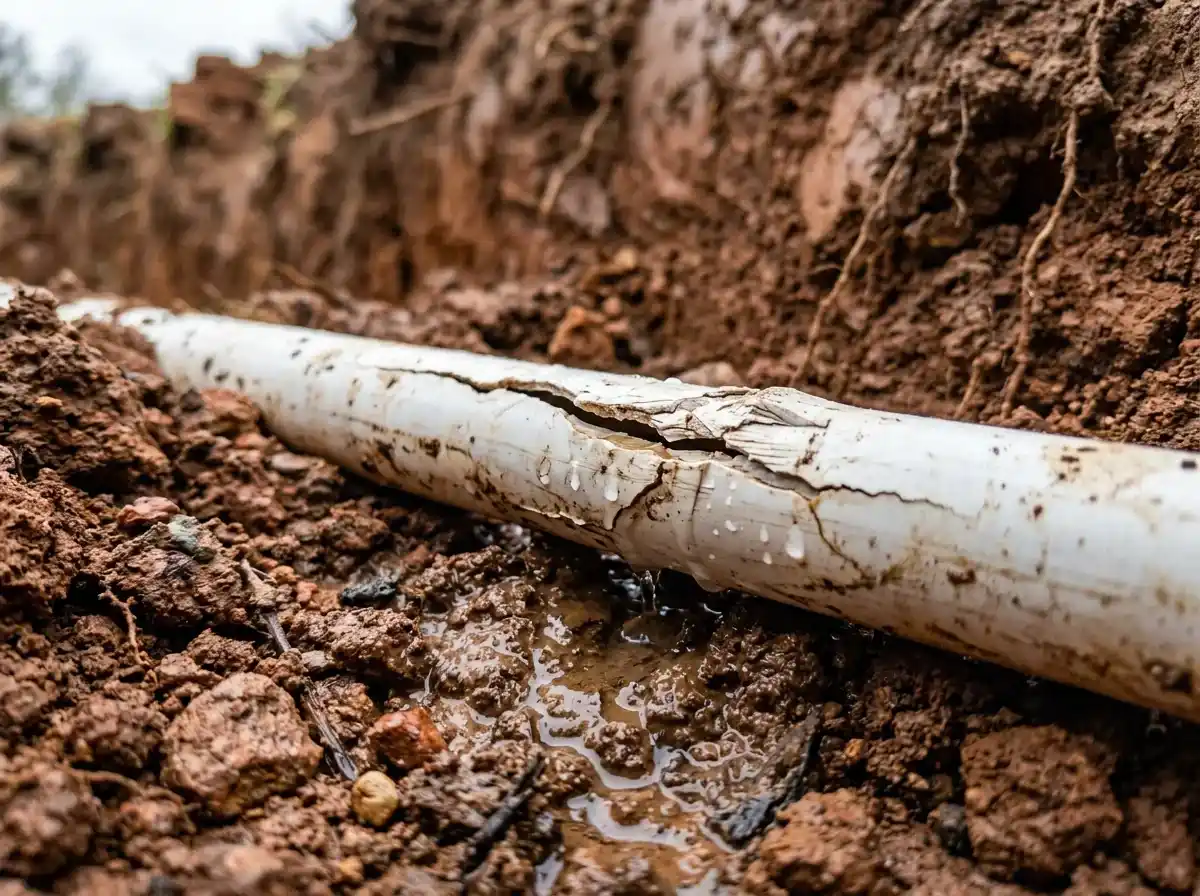
Denton County sits on some of the most active shrink-swell clay soil in North Texas. Summer drought pulls it inward. Rain swells it back out. Year after year, that movement puts lateral stress on buried PVC pipes at the 12 to 18 inch depth where your irrigation lines run — and eventually, something gives.
Properties along the I-35 corridor, through Southridge and Forresridge, and into the SW developments off Loop 288 sit in areas where this is especially pronounced. It’s a local geology problem, not a system failure.
The fix is straightforward: pressure testing locates the break, targeted excavation exposes it, and an expansion coupler or pipe section splice seals it. We don’t dig random trenches.
If your water bill has crept up and your watering habits haven’t changed, a clay-caused pipe failure may be draining money underground right now.
How to Find a Broken Sprinkler Line
Before you dig a single hole, you need to know roughly where the break is. Digging randomly in Denton clay is not a good time.
Step 1: Run each zone separately. Turn on each zone from your controller one at a time. Watch for which zone produces a wet, soft, or spongy area in the yard, or which zone has noticeably low pressure at the heads. That zone contains your break.
Step 2: Walk the zone’s pipe path. Every sprinkler system follows a logical route between heads. Walk from head to head in the affected zone while the system runs. Look for:
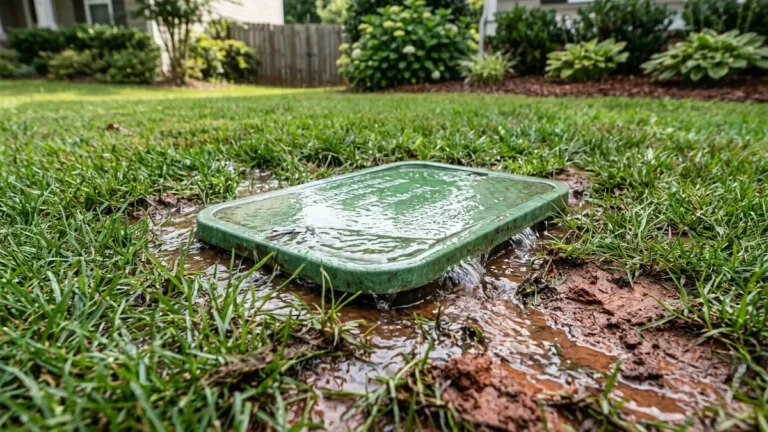
- Standing water between heads (not at a head)
- Soft ground that sinks under your foot
- A section of grass that is noticeably greener or growing faster than the rest
- Bubbling soil or water pushing up through the turf
Step 3: Probe the suspect area. Use a long screwdriver or a soil probe. Push it straight down in the area you suspect. In dry clay, you’ll feel resistance. If the probe goes in easily and comes out wet or muddy, you’ve found the leak zone.
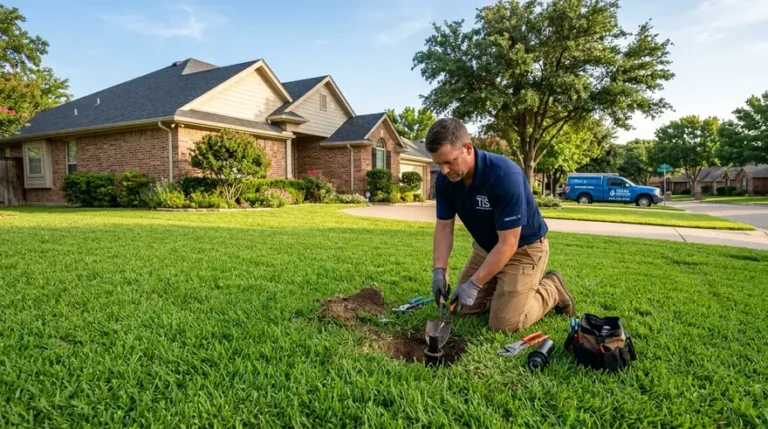
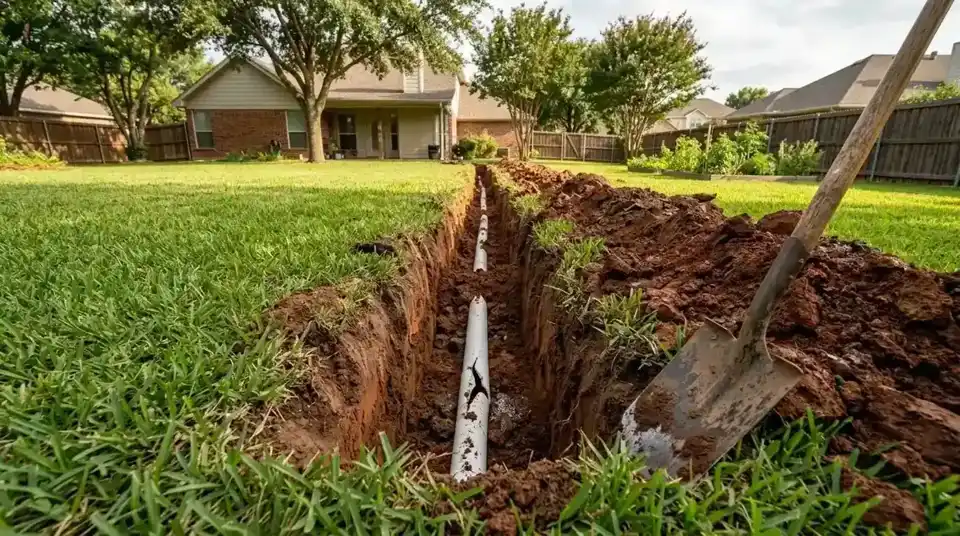
Step 4: Dig carefully. Start with a narrow flat shovel or drain spade. Denton clay is dense, so a pointed shooter spade works better than a flat blade. Dig straight down about 8-12 inches — most residential lateral lines in Denton are buried at that depth. Widen outward from your probe point until you expose the pipe.
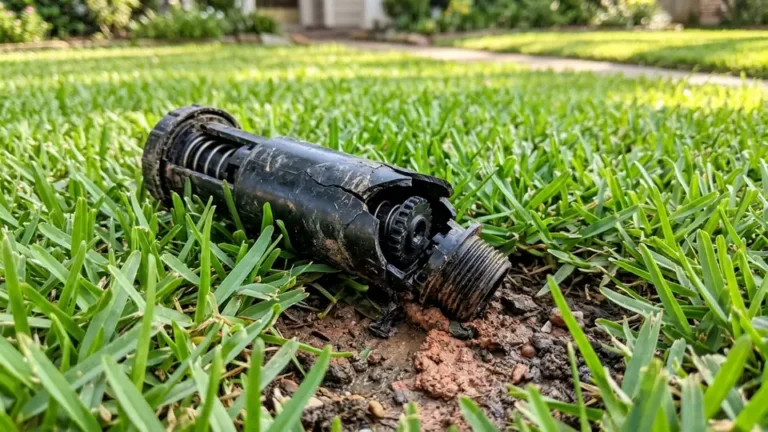
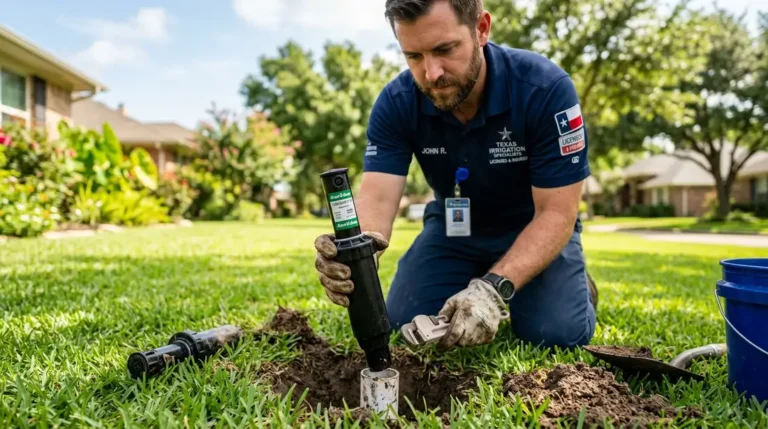
**Pro tip:** If the break is near a sprinkler head rather than between heads, the problem may actually be a broken riser or a cracked fitting at the head connection — a simpler fix than a mid-line pipe break. Check the sprinkler head repair Denton TX page if the damage appears to be at the head itself.
What You Need to Repair a Broken Sprinkler Line
For a standard PVC line break, gather these materials before you dig:
Tools:
- Flat spade or drain shovel
- PVC pipe cutter or hacksaw
- Tape measure
- Bucket or wet/dry vac (to clear water from the trench)
Materials:
- Schedule 40 PVC pipe (same diameter as your existing line — usually 3/4″ or 1″ for lateral lines)
- Two slip couplings (or one repair coupling if the break is clean)
- One slip fix expansion coupling (for tight spaces where you can’t slide pipe)
- PVC primer (purple)
- PVC cement (clear or gray)
- Rubber gloves
A note on Denton pipe types: Older systems installed before 2005 may use Schedule 20 thin-wall PVC or even poly (black flexible) pipe. If your line is poly pipe, you’ll use barbed fittings and clamps instead of PVC cement. The repair method is different — see the poly pipe section below.
How to Repair a Broken PVC Sprinkler Line — Step by Step
Once you’ve exposed the break and cleared the trench, here’s how to make the repair.
Step 1: Shut off the water. Turn off the irrigation system at the controller and locate your main irrigation shutoff valve. This is usually near the backflow preventer or the main water meter. Don’t skip this — trying to work on a pressurized line is messy and prevents a good cement bond.
Step 2: Cut out the damaged section. Use your PVC cutter or hacksaw to cut the pipe about 2 inches on either side of the visible damage. Cut straight — angled cuts won’t seal properly. If the pipe crumbled or cracked across a longer section, cut past the visible damage on both ends.
Step 3: Dry the pipe ends. Wipe the inside and outside of both cut pipe ends with a clean rag. The pipe and fittings must be completely dry for the cement bond to hold. In Denton summers, this usually takes 3-5 minutes of air drying after wiping.
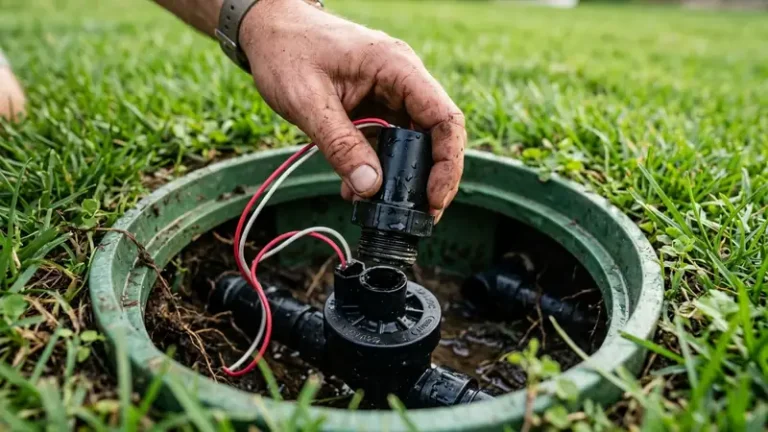
Step 4: Dry-fit your couplings and replacement pipe. Cut a replacement pipe section to match the gap. Dry-fit all pieces first without cement. Make sure everything lines up and sits flush. If the gap is too tight to slide in a straight piece, use a slip-fix expansion coupling — it compresses to slide in, then expands to lock.
Step 5: Apply primer, then cement. Working one joint at a time:
- Brush purple primer on the outside of the pipe end and inside of the coupling socket
- While still wet, brush PVC cement on both primed surfaces
- Push the coupling onto the pipe with a slight twist and hold for 30 seconds
- Repeat for every joint
Step 6: Let it cure. Do not turn the water back on immediately. PVC cement needs 15-30 minutes to set in warm Denton summer conditions, and 1-2 hours in cooler weather. For a 100% seal before backfilling, wait at least 30 minutes.
Step 7: Test before backfilling. Turn the zone on briefly with the trench still open. Watch every joint. No dripping, no seeping, no bubbles. If any joint weeps, shut off, cut it out, and redo it. Backfilling a leaking repair just sends you back to step one — usually weeks later when you notice the same wet patch.
Step 8: Backfill carefully. Fill the trench in 4-inch layers, tamping each layer down by hand. Denton clay compacts well but can bridge over the pipe, leaving air pockets. Pack it down firmly. Mound the last inch slightly above grade — it will settle over a few weeks.
How to Repair a Broken Poly (Black Flexible) Sprinkler Line
If your system uses black poly pipe rather than white PVC, the repair process is simpler but requires different materials.
What you need:
- Barbed insert couplings (same diameter as your poly pipe)
- Stainless steel hose clamps (2 per coupling)
- Poly pipe of the same diameter
- Utility knife
Steps:
1. Cut out the damaged section cleanly with a utility knife
2. Slide hose clamps onto both pipe ends before inserting the fitting
3. Push a barbed coupling into each pipe end — it should require firm pressure to seat
4. Slide each clamp over the barbed section and tighten with a flat-head screwdriver
5. Test before backfilling
Poly pipe repairs are faster and require no drying time, but they can work loose in heavy clay that shifts. If your poly system is old and has had multiple repairs, it may be worth converting the affected section to Schedule 40 PVC for a more permanent fix.
When to Call a Pro Instead of DIY
Most mid-line pipe breaks are manageable for a handy homeowner. But there are situations where calling a TCEQ Licensed Irrigator in Denton is the smarter move.
Call a professional when:
- You can’t locate the break after reasonable probing (a technician has pressure testing equipment and electronic leak detection tools that find breaks without excessive digging)
- The break is under a driveway, sidewalk, or concrete pad (boring or tunneling under concrete is specialized work)
- Multiple lines are broken or the entire zone has low pressure (may indicate a larger systemic failure or root intrusion across a longer section)
- The pipe near your backflow preventer or main supply line is damaged (this affects potable water and should only be handled by a licensed irrigator in Texas)
- You attempted a repair and it failed twice (some Denton clay-soil situations require a pressure-equalizing expansion joint, not a standard coupling)
If you’re dealing with a leak you can’t locate, our team provides underground sprinkler repair Denton diagnostics using pressure testing and zone-by-zone isolation — without unnecessary trenching.
Got Sprinkler Questions?
We’re happy to help. If you can’t find the info you’re looking for, please don’t hesitate to reach out to us!
Still Not Sure Where the Break Is? We Can Find It.
Locating a leak in Denton clay isn’t always straightforward. If you’ve probed the area, checked the zone under pressure, and still can’t pinpoint it — or if you’d simply rather have a TCEQ Licensed Irrigator handle it from start to finish — ProFlow is ready to help.
We use honest diagnostics, upfront quotes, and we treat your yard like our own. No unnecessary trenching. No surprise fees.
Call ProFlow Sprinkler Repair for sprinkler repair in Denton today. Same-day service available.